What Is a Proxy Redirect?
In this Post I’m going to describe an approach I’ve used in my last three jobs when creating Product Demos.
It allows me to build things this: https://neon.tech/demos/ping-thing.
My demos look like they live on the main company URL e.g https://neon.tech/demos/name-of-demo, but the code used to create them and where they are deployed is somewhere completely different.
This approach goes by many names.
- Proxy Redirect
- Corporate Proxy
- Reverse Proxy
or, if you’re deploying to Vercel or Netlify, they’re called Rewrites.
But before we get on to Proxy Redirects, I’ll quickly explain “ordinary” Redirects.
What is a Redirect?
Let’s say you you have a site, www.example.com. You have a page at www.example.com/about-us, but want to change it to www.example.com/about. Naturally you can’t just rename the /about-us page to /about because anyone who’d previously had the /about-us link, and visits that URL, will end up seeing the 404 (Not Found) page.
The “ordinary” solution is to add a redirect from /about-us to /about. With a redirect in place any visitors to /about-us will be redirected to /about.
One of the key tenets of a redirect is that the URL changes when the redirect occurs. Users might only very briefly see /about-us in the browser address bar but, after a quick flash, they’ll end up seeing /about.
All’s well, that ends well.
Redirect a Product Demo
I’ve seen a few folks use this approach, and in a moment i’ll explain why it’s a bad idea, but first i’ll explain the how and the why.
If you’re building a Product Demo it’ll probably have a “shelf life”, and by that I mean, after an initial wave of activity it’ll be forgotten. For a number of reasons it’s a bad idea to add your “demo” code to your companies main website repo just so you can share a real, company branded URL with the world.
But, by adding a redirect to your companies main website to your Product Demo, you can superficially obtain a real company URL to share with the world.
This works by adding a redirect to your companies main website server config that will redirect users e.g:
- from:
www.example.com/demos/name-of-demo - to:
www.name-of-demo.vercel.app
As before with the /about-us example, any user visiting www.example.com/demos/name-of-demo would quickly be redirected to www.name-of-demo.vercel.app.
This is largely pointless and by opting to use approach you’ve not solved a problem, but you have created one.
The Analytics Problem
Naturally you’ll want to add Analytics to your Product Demo so you can measure how effective it was. But, you can’t add your companies main Analytics tracking code to your demo site because many (probably all, I haven’t checked) Analytics providers will block requests that come from a different domain to the one configured in the admin settings. And if you’ve opted to redirect to a .vercel.app URL, the domain will be blocked.
Your only other option here is to create a new Analytics account and tracking code. Whilst this will indeed capture page views, all those lovely numbers are now in a different account and won’t be contributing to your companies overall traffic goals. Not to mention, at some point, someone is gonna ask you to add your numbers to their “report” which will likely be a manual task. Yuck!
What is a Proxy Redirect?
A Proxy Redirect is different. Taking the above example, what we want to do is: “proxy redirect” users:
- from:
www.example.com/demos/name-of-demo - to:
www.example.com/demos/name-of-demo
And no, that’s not a mistake. One of the key tenets of a Proxy Redirect is the URL stays the same.
Ordinarily, as I mentioned above, the server wants to respond with a 404 because it knows the “to” location doesn’t exits but, instead of the server sending a 404 status code, you can override it and tell it to send a 200 (OK) but, you can also tell it to silently, and in the background, render the site that’s been deployed to www.name-of-demo.vercel.app all without changing the URL seen the in the address bar… and the world will never know!
Back in my early web development career (~2005) stuff like this was possible, but it required some pretty hardcore backend config. Luckily for you, in the modern day, all you have to do is copy and paste some code from the docs. (you read the docs right?)
How you do this will depend on what technology your companies site is built with and where it’s deployed. If your companies main website is deployed to either Netlify or Vercel the following links will explain how to configure Rewrites.
How to Create a Proxy Redirect Product Demo
This will entirely depend on what technology your companies main site is built with and where it’s deployed, AND what technology your demo site is built with and where it’s deployed ☝️.
The steps i’m about to explain relate to the following two sites and configuration changes are required to both for a Proxy Redirect to work:
- neon.tech
- Built with Next.js
- Deployed to Vercel (using our main Neon account)
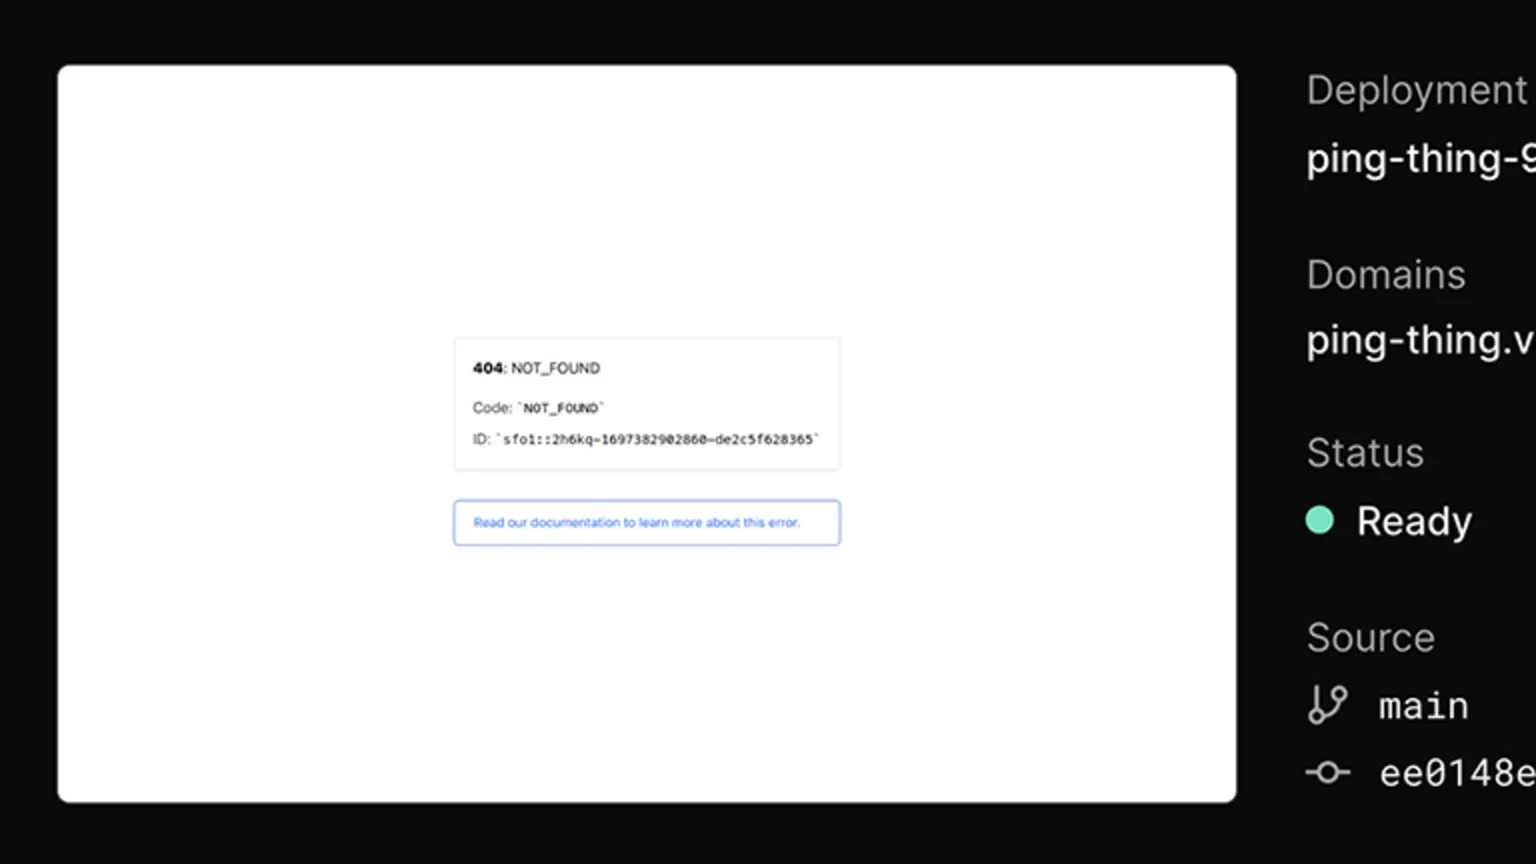
- neon.tech/demos/ping-thing
- Built with Next.js
- Deployed to Vercel (under the same Neon account)
1. Proxy Redirect - The Site
“The Site” relates to your companies main site, in my case that’s neon.tech.
To configure the server I add the following rewrites() to next.config.js. This tells the server than any requests from /demos/ping-thing should silently, and in the background be rewritten to https://ping-thing.vercel.app/demos/ping-thing.
// ./next.config.js

module.exports = {
  async rewrites() {
    return [
      {
        source: "/demos/ping-thing",
        destination: "https://ping-thing.vercel.app/demos/ping-thing"
      }
    ];
  }
};
2. Proxy Redirect - The Demo
“The Demo” relates to your demo site, in my case that’s neon.tech/demos/ping-thing.
To configure the demo, I add the following to next.config.js.
// ./next.config.js

module.exports = {
  assetPrefix: process.env.NEXT_PUBLIC_REWRITE_PREFIX,
  basePath: process.env.NEXT_PUBLIC_REWRITE_PREFIX
};
The value of NEXT_PUBLIC_REWRITE_PREFIX is as follows, and pay attention, there’s no trailing slash!
NEXT_PUBLIC_REWRITE_PREFIX
Production
// .env || .env.production.local

NEXT_PUBLIC_REWRITE_PREFIX=/demos/ping-thing
Development
In the development environment I set the value to nothing. This allows me to continue developing on https://localhost:3000 rather than https://localhost:300/demos/ping-thing. This step isn’t necessary but I find it more convenient.
// .env.development.local

NEXT_PUBLIC_REWRITE_PREFIX=
assetPrefix
This is a tricky one. For the most part the assetPrefix deals with where static assets are located. If you’re using next/image however, you’ll need prefix the src with the same environment variable used above to ensure the path to the static directory is correct.
<Image src={`${process.env.NEXT_PUBLIC_REWRITE_PREFIX}/static/cta-elephant.avif`} width={1684} height={964} alt="Neon Elephant" />
basePath
The basePath is for things like .js and .css. If you don’t set this, when your Next.js site is bundled it won’t have the correct paths to the JavaScript and CSS.
The basePath is important because with my demo its no longer deployed to the root of it’s own domain. Its deployed to /demos/ping-thing, and not only that, when deployed to production it’s not even on it’s own domain… so you’ve got to provide some additional information to help the HTML correctly link to the relevant .js and .css files.
Analytics
This one was super easy for me. I used the same setup as neon.tech because it’s the same tech, E.g Next.js. Yours may be different.
NEXT_PUBLIC_GTM is the Google Analytics tracking ID for neon.tech which I can also use because Ping Thing, for all intents and purposes, lives on the neon.tech domain. Plus, I want all page views to be tracked by our main Google Analytics account and I want them to show up in our reports.
// pages/_document.js

import Script from "next/script";
import { Html, Head, Main, NextScript } from "next/document";

const Document = () => {
  const isProd = process.env.NODE_ENV === "production";

  return (
    <Html lang="en">
      <Head>
        {isProd ? (
          <Script id="google-analytics" strategy="afterInteractive">
            {`
              (function (w, d, s, l, i) {
                w[l] = w[l] || []
                w[l].push({ 'gtm.start': new Date().getTime(), event: 'gtm.js' })
                var f = d.getElementsByTagName(s)[0],
                  j = d.createElement(s),
                  dl = l != 'dataLayer' ? '&l=' + l : ''
                j.async = true
                j.src = 'https://www.googletagmanager.com/gtm.js?id=' + i + dl
                f.parentNode.insertBefore(j, f)
              })(window, document, 'script', 'dataLayer', '${process.env.NEXT_PUBLIC_GTM}')
            `}
          </Script>
        ) : null}
      </Head>
      <body>
        <Main />
        <NextScript />
        {isProd ? (
          <Script src={`https://www.googletagmanager.com/gtag/js?id=${process.env.NEXT_PUBLIC_GTM}`} strategy="afterInteractive" />
        ) : null}
      </body>
    </Html>
  );
};

export default Document;
Vercel Preview
If you’re deploying to Vercel you might notice after adding the basePath that you see the site’s preview image displays the 404 error page. Vercel’s site previews also need a helping hand to find the site.
You can add the following to ./vercel.json to fix that.
{ "redirects": [{ "source": "/", "destination": "/demos/ping-thing", "permanent": true }] }

Final Thoughts
I’ve gotta be honest, It is a bit of a ball ache, but it is worth the trouble. Using this approach for Product Demos allows you to share the URL with the world, promote your companies brand (and product) and track all the Analytics in the right place.
Some issues I do know about.
- On Netlify you can’t proxy between two different Netlify accounts. This might happen if you had the “main” Netlify account, and then maybe a different one for Developer Relations / Product Demos.
- You can’t
redirectto arewritethats no longer there. Once you’ve decided what your rewrite URLs are, E.g/demos/you kinda have to stick with this. Changing your mind and URL structure later will be quite painful.
And here are some I made earlier, I’ve also linked to the repos to show you the code isn’t part of the main company website’s repo, and you should see from the URL’s, that they look like they’re a page on the main companies’s website.
Example Demos
Gatsby - Rise of the Robots
The proxy config here was:
- from: A site built with Gatsby and deployed to the main Gatsby Cloud account.
- to: A site built with Gatsby and deployed to a different Gatsby Cloud account.
- 🚀 Demo: https://www.gatsbyjs.com/demos/rise-of-the-robots/
- ⚙️ Repo: https://github.com/PaulieScanlon/rise-of-the-robots
Cockroach Labs - Cloud API
The proxy config here was:
- from: A site built with Hugo and deployed to the main Cockroach Labs Netlify account.
- to: A site built with Next.js and deployed to a Developer Relations Vercel account.
- 🚀 Demo: https://www.cockroachlabs.com/demos/demo-cloud-api
- ⚙️ Repo: https://github.com/cockroachdb/demo-cloud-api
Cockroach Labs - Silo
The proxy config here was:
- from: A site built with Hugo and deployed to the main Cockroach Labs Netlify account.
- to: A site built with Next.js and deployed to a Developer Relations Vercel account
- 🚀 Demo: https://www.cockroachlabs.com/demos/demo-data-residency/
- ⚙️ Repo: https://github.com/cockroachdb/demo-data-residency
Neon - Ping Thing
- from: A site built with Next.js and deployed to the main Vercel account.
- to: A site built with Next.js and deployed to the main Vercel account.
If you get stuck, feel free to find me out on Twitter/X, I might be able to help: @PaulieScanlon.