How to use React's Context API with Gatsby
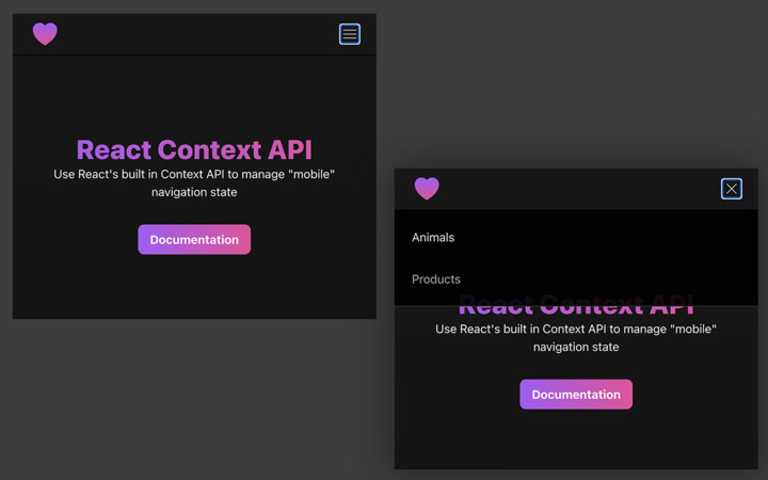
Hey there, in this post I’ll be explaining how to use React’s Context API with Gatsby to provide a “global state” variable and handler function to control the “mobile” navigation menu which you can see on the live preview link below.
- 🚀 Live Preview
- ⚙️ Repository
What is Global State?
Unlike local state, global state can be accessed from anywhere around your site or application. By using the Context API you can avoid prop drilling which often leads to unnecessary re-renders which can result in performance issues.
React’s Context API is really powerful and pretty straightforward to implement.
To use the Context API with Gatsby you can leverage one of Gatsby’s core functions wrapRootElement. As the name suggests, it can be used to wrap the root element of your site or application.
wrapRootElement won’t re-render unless told to, and lives at the top of the tree which makes it an ideal place to
setup “providers”. Here’s how I’ve created a global state value and handler that can be used to control the navigation
state in the demo site.
createContext
To create a Context Object using React you can do the following.
import React from 'react';

const AppContext = React.createContext({ foo: 'bar' });
This on it’s own isn’t that helpful but I did just want to show a simple implementation so you have a good starting point for what i’ll be explaining next.
AppProvider
To make use of the Context API you’ll need to create a Provider. This component will wrap your site or application and
hold the state value. In the demo site i’ve also added a simple handler function that when invoked will set the state
value and pass the value back through the AppContext.Provider using the value prop. I’ll cover how to “consume”
these values in a moment.
Here’s the <AppProvider /> from the demo site. You can find the src here:
app-context.js
// src/context/app-context.js

import React, { createContext, useState } from 'react';

export const AppContext = createContext();

export const AppProvider = ({ children }) => {
  const [isNavOpen, setIsNavOpen] = useState(false);

  const handleNav = () => {
    setIsNavOpen(!isNavOpen);
  };

  return (
    <AppContext.Provider
      value={{
        isNavOpen,
        handleNav,
      }}
    >
      {children}
    </AppContext.Provider>
  );
};
RootElement
As mentioned earlier to wrap your site or application you can use Gatsby’s wrapRootElement function. It’s common to
use / re-use functionality across both gatsby-browser and gatsby-ssr. In such cases I tend to abstract this
functionality into a new component and then use it in both gatsby-browser and gatsby-ssr.
Since this component is intended to be used with
wrapRootElement I’ve named it
<RootElement />. The <RootElement /> component wraps it’s children with the AppProvider component.
// src/components/root-element

import React from 'react';
import { AppProvider } from '../context/app-context';

const RootElement = ({ children }) => {
  return <AppProvider>{children}</AppProvider>;
};

export default RootElement;
I then use the <RootElement /> component to wrap the element provided by wrapRootElement in both gatsby-browser
and gatsby-ssr.
// ./gatsby-browser

import React from 'react';
import RootElement from './src/components/root-element';

export const wrapRootElement = ({ element }) => {
  return <RootElement>{element}</RootElement>;
};
// ./gatsby-ssr

import React from 'react';
import RootElement from './src/components/root-element';

export const wrapRootElement = ({ element }) => {
  return <RootElement>{element}</RootElement>;
};
AppContext.Consumer
With the provider setup, you can now consume any values or functions it defines and you access them by wrapping any component or DOM elements in the Jsx return statement that need access to them.
I’ve used this method in the <Header /> component in the demo site to trigger a state change for the navigation and
control the visibility of the “x” or “burger menu”.
Here’s a simplified version, you can find the src here:
header.js
import React from 'react';

import { AppContext } from '../context/app-context';

const Header = () => {
  return (
    <header>
      <AppContext.Consumer>
        {({ isNavOpen, handleNav }) => {
          return (
            <button onClick={handleNav}>
              <svg xmlns='http://www.w3.org/2000/svg' viewBox='0 0 24 24' fill='currentColor' width={24} height={24}>
                <path d={`${isNavOpen ? 'M5.47 5.47a.75.75...' : 'M3 6.75A.75.75...'}`} />
              </svg>
            </button>
          );
        }}
      </AppContext.Consumer>
    </header>
  );
};

export default Header;

In the <Header /> component I use both the handleNav function and the isNavOpen value.
handleNav
The handleNav function is used to set the state value held in the AppProvider component and toggles the isNavOpen
value between true and false.
isNavOpen
Because the the value of this state value is changing you can act on it. In the case of the <Header /> I use it to
either return an Svg path for the “x” or the “burger menu” icon. I also use the isNavOpen value to modify the styles
of the navigation elements.
That just about wraps things up, with an <AppProvider /> wrapping your site or application you should now be able to
access the values using the <AppContext.Consumer /> anywhere, and at an level.